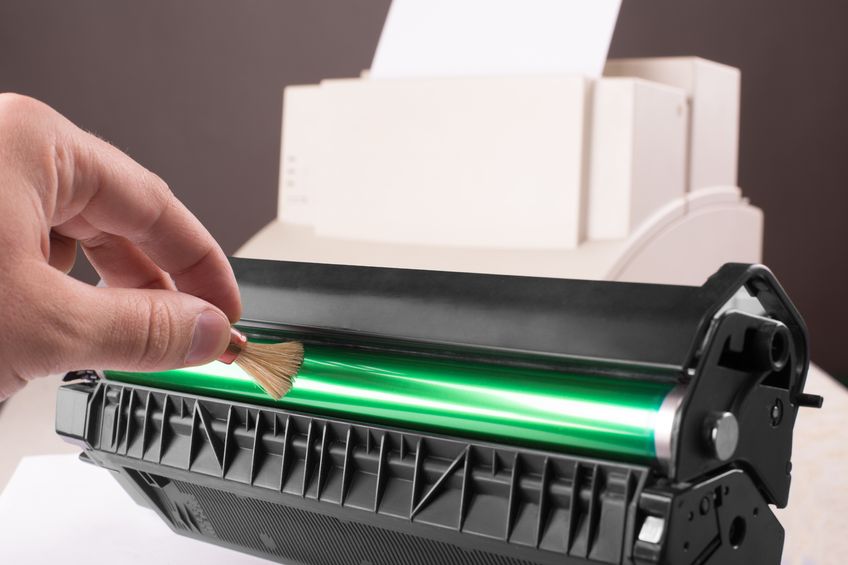
Cleaning your toner cartridge is an important maintenance task that can help improve print quality, prevent toner buildup, and prolong the life of the cartridge. Dust, toner residue, and debris can accumulate on the cartridge’s exterior and internal components over time, affecting its performance. In this article, we will guide you through the steps to properly clean your toner cartridge. If you pause you printer and don’t know how to unpause a printer then read this post.
Before proceeding, please note that the cleaning process may vary depending on the specific cartridge model and manufacturer’s recommendations. It’s always best to consult the cartridge’s user manual or the manufacturer’s website for any specific instructions. Additionally, handle the toner cartridge with care to avoid accidental spills or damage to the internal components.
Here are the general steps to clean your toner cartridge:
Power off and Unplug the Printer:
- Before cleaning the toner cartridge, turn off the printer and unplug it from the power source. This ensures your safety and prevents any accidental printing or electrical hazards.
Remove the Toner Cartridge:
- Refer to your printer’s user manual to locate and safely remove the toner cartridge. Follow the manufacturer’s instructions specific to your printer model to prevent any damage or mishandling.
Prepare the Cleaning Area:
- Find a clean and well-ventilated area to perform the cleaning process. It’s recommended to work on a surface that can be easily cleaned or covered with a protective cloth or sheet to catch any toner residue.
Inspect the Cartridge:
- Before cleaning, inspect the toner cartridge for any visible damage, leaks, or excessive toner buildup. If you notice any significant damage or leaks, it’s advisable to replace the cartridge instead of attempting to clean it.
Exterior Cleaning:
- Start by cleaning the exterior of the toner cartridge:
a. Use a soft, lint-free cloth: Take a clean, lint-free cloth (microfiber cloth or non-abrasive cloth) and gently wipe the exterior of the toner cartridge. Avoid using rough or abrasive materials that may scratch the surface.
b. Remove toner residue: If there is toner residue or stains on the cartridge’s exterior, slightly dampen the cloth with water or isopropyl alcohol (90% or higher) and gently wipe away the residue. Do not use excessive moisture or soak the cartridge in liquid.
c. Dry the cartridge: Ensure that the cartridge is completely dry before reinstalling it. You can air-dry it or use a dry lint-free cloth to remove any remaining moisture.
Interior Cleaning:
- Cleaning the interior components of the toner cartridge helps remove toner buildup and debris that can affect print quality:
a. Handle with care: When handling the toner cartridge’s interior components, be cautious and avoid direct contact with the drum or other sensitive parts.
b. Use a toner-specific vacuum (optional): Some toner-specific vacuums or toner cleaning devices are available on the market. If you have access to one, follow the manufacturer’s instructions to vacuum any loose toner or debris from the cartridge. These devices are designed to safely handle toner particles.
c. Use a clean, dry, lint-free cloth or brush: Gently wipe the interior components of the toner cartridge with a dry cloth or use a soft brush to remove toner buildup or debris. Be careful not to apply excessive pressure or force that could damage the delicate parts.
d. Avoid touching the drum: The drum is a critical component of the toner cartridge, and direct contact with your fingers can cause damage. If necessary, use a lint-free cloth to clean the drum without applying pressure or touching it with your bare hands.
Reinstall the Toner Cartridge:
- Once you have completed the cleaning process and ensured that the cartridge is dry, carefully reinstall it back into the printer following the manufacturer’s instructions. Make sure it is properly seated and secured.
Dispose of Waste Properly:
- Dispose of any used cleaning materials, such as cloths or brushes, in a sealed bag or container. Toner is a fine powder and can be harmful if inhaled or ingested, so it’s important to handle and dispose of waste properly.
Test Print:
- After cleaning and reinstalling the toner cartridge, run a test print to check if the print quality has improved. If you still experience any issues, such as streaks or smudges, you may need to consult the printer’s user manual or contact the manufacturer for further assistance.
Regularly cleaning your toner cartridge helps maintain print quality, extend its lifespan, and prevent potential problems. However, it’s essential to follow the specific guidelines provided by the cartridge manufacturer or printer manufacturer to ensure safe and effective cleaning.


